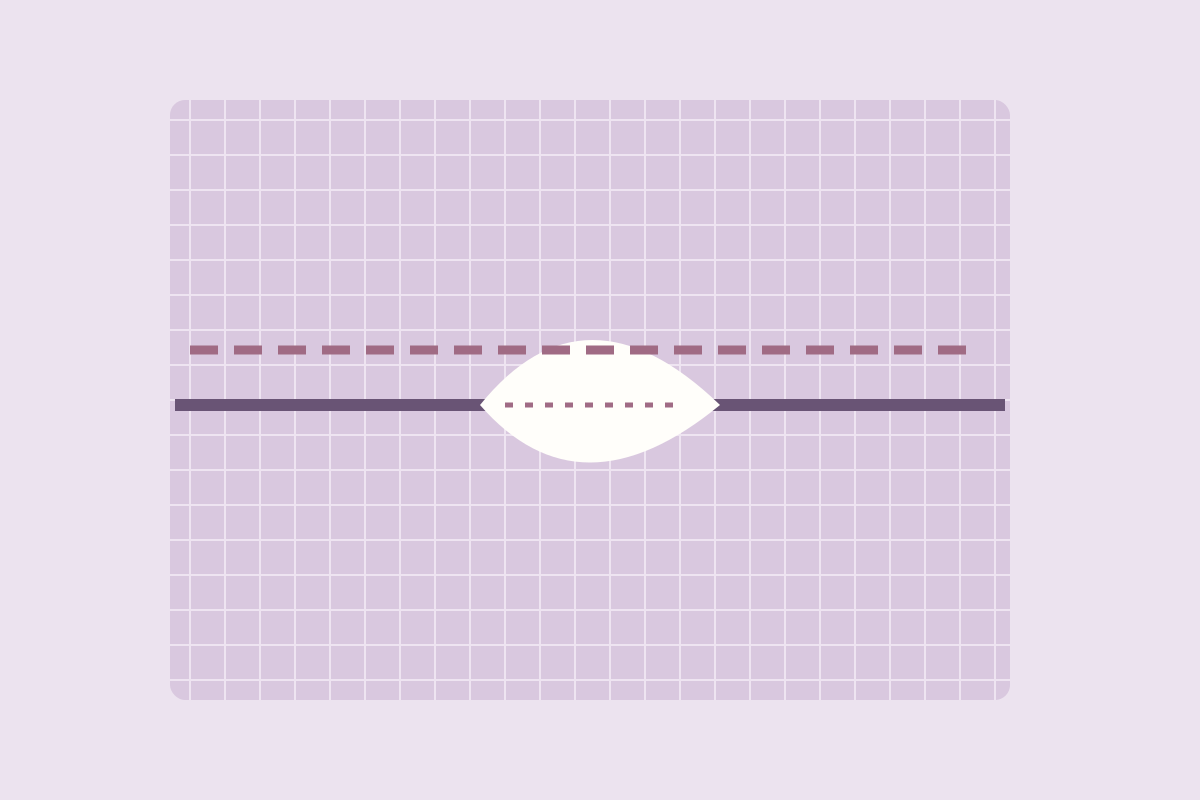
How to sew a flat button back on
Replace a flat shirt button with a clear guide to placement, stitching and checking the closure.
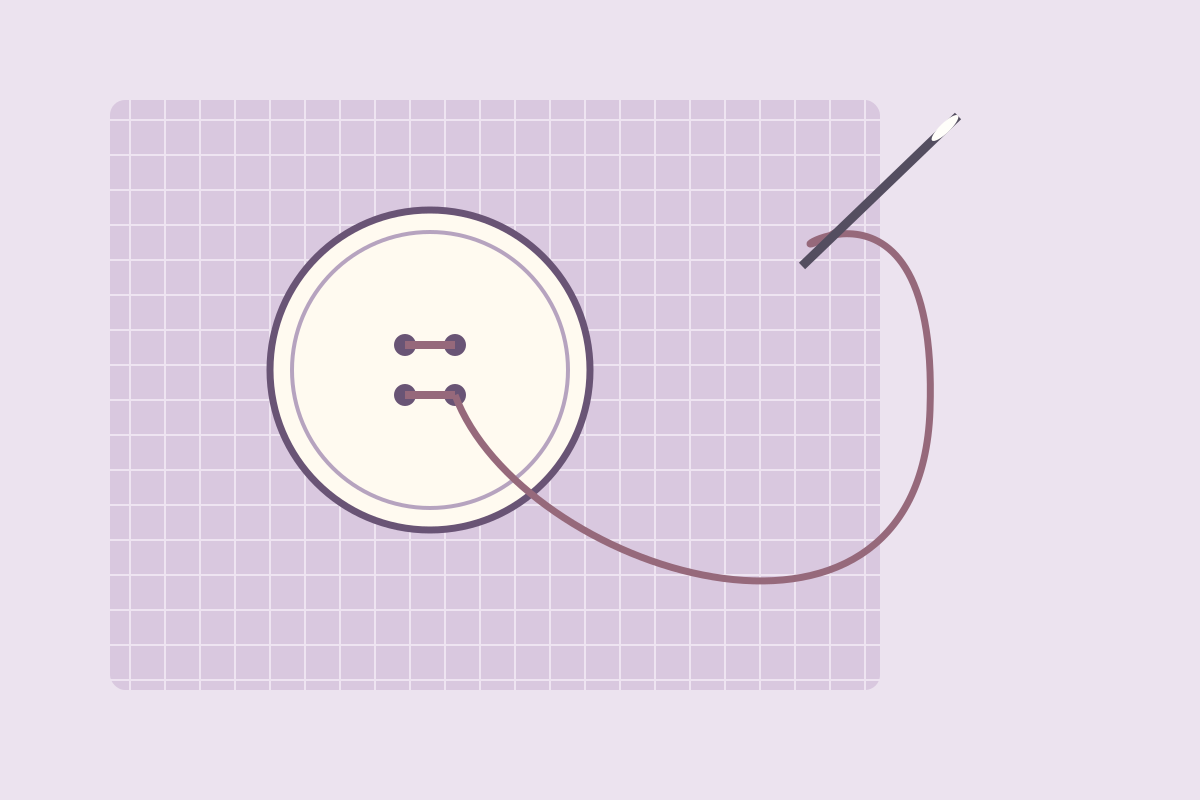
A shirt button has come off, but the fabric beneath it is intact. That is a suitable small repair for a flat button. A torn hole needs a fabric repair first, otherwise the new stitches will pull through the same weak spot.
Find the old position
A few remaining threads often show where the button sat. Lay the shirt flat and align its front edges before marking that spot. Check it against the buttonhole rather than relying on a crease in the fabric.
Choose a matching button that passes through the hole without forcing it. Keep another button on the shirt as a reference for size and stitch pattern. This guide covers an ordinary adult shirt, not children’s clothing or protective garments.
Build the attachment
The Patagonia button repair guide shows a doubled thread with its ends knotted together. Thread a hand needle and bring it up from the underside at the marked position.
Pass through one button hole, then down through its partner and the cloth. Repeat that path to build a secure attachment. With four holes, work the other pair too, matching the arrangement on the shirt’s remaining buttons.
Keep the button in position as you sew. Pull the thread snug enough to hold it, but stop if the fabric begins to pucker. Thick fabric or a button that needs a thread shank calls for a different attachment than this simple flat repair.
Check the closure
A button can look neat while still being awkward to fasten. Pass it through the buttonhole and check that the shirt lies flat before finishing.
On the underside, secure the working thread through the existing stitches and tie it off. Trim the loose end without cutting the attachment stitches. Fasten and unfasten the shirt again, watching for strain around the repaired spot.